Weekly Journal for Ethical Hacking Part 6 Week 3 Lecture 3
In this week, we were asked to utilizing search engine. In this case, we will be using Kali Linux for the hacking. Although to be fair I’ve already used Kali Linux for the previous Week 2.
Our goal is to use tools in Kali Linux and Google to utilizing search engine.
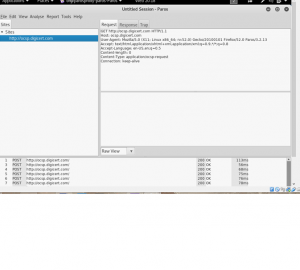
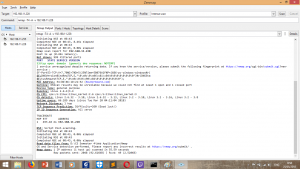
I can’t figure out how to use goorecon… But at least I can figure out how to use theharvester! The harvester is used for looking hostnames with same names. The image I used here is not exactly a good example for it.
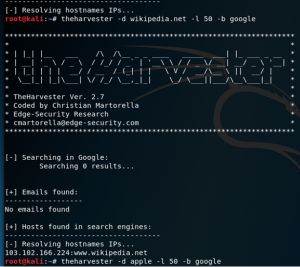 This program is used to limited the search of domain names and sees how many websites has the same domain names. For this example I used, apparently wikipedia.net is either not a hostname, or I used the search results number too low.
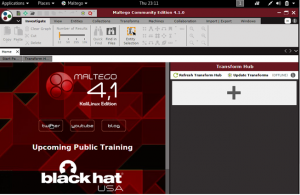
Then I also try to use Maltego. Too bad I needed an account if I wanted to use the free version which I haven’t make. But at least I can show you what it looks like now.
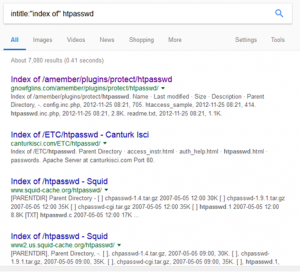
For Google Hacking… It apparently used for make the search you do in Google is even more specific. You can even search for things that only appear in the url.

It’s actually work! I only don’t know how to specify it to a certain website I want to look into.
Conclusion: You can use this tools and Google to find more information about the website you’re going to hack.
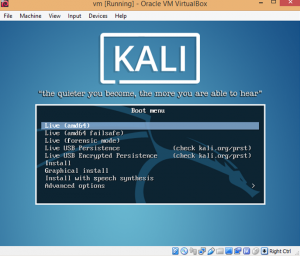 This showed that the Kali linux is starting to working.
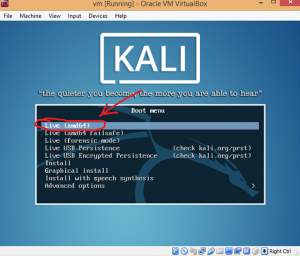 An error appeared. It said: “This kernel requires an x86-64 CPU, but only detected an i686 CPU. Unable to boot – please use a kernel appropriate for your CPU”. On the most tutorial I found, they told me to change the settings in my BIOS, which will require me to restart my computer. I had never used this before which makes me panicking and I looked for another tutorial.
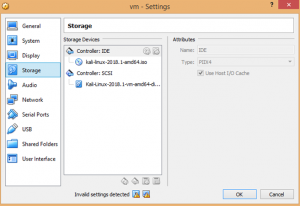
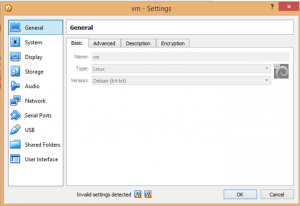 Change the Type into Linux and change the Version into Debian (64bit).

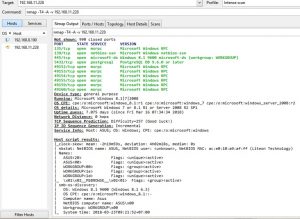
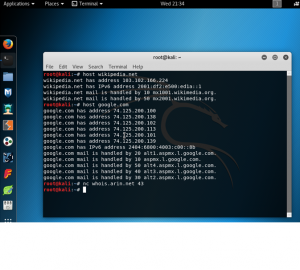
 In this output, it only show one open port which is port 53. Port 53 is Domain Name System or DNS. DNS is a naming system for computers, services, or other resources connected to the internet.
 Apparently, other than port 53, port 80 is also open. Port 80 is HTTP or Hypertext Transfer Protocol.
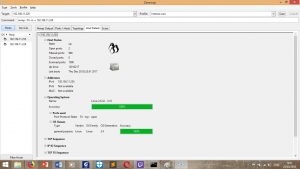 And this is show all about the target details, especially their OS. They are apparently using Linux for their OS and they only have one IP address.